Lesson 1: Getting Started
"The map shows you everything you need"
| Time | 70 minutes |
| Space | Schoolyard, local park, or camp area with an orienteering map |
| Materials | Orienteering map of the area (poster-sized for Map Discussion), Checkpoints (cones with animal pictures), Clue sheets, Map legend (poster or handout), 2 sets of symbol cards (one per team), 2 sets of text cards (one per team) |
| Setup | Print a poster-sized map; place animal checkpoints around the area |
| Vocabulary | Checkpoint, Clue sheet, Symbol, Feature |
Activities
core
Animal-O
Use clue sheets to find animal checkpoints in order.

core
Map Discussion
Guided group discussion of map symbols and features.
variation
Symbol Relay
Team relay to identify and locate map symbols.
Goals
Orienteering Goals
- Use a clue sheet to find checkpoints in order
- Build spatial memory of checkpoint locations
- Understand map symbols and the features they represent
- Relate features on the map to features in the terrain
Delivery
- Safety briefing (5 min): walk the boundary together so campers know exactly where they can and cannot go. Introduce the gathering signal (whistle or call): when you hear it, return to the start immediately. Emphasize checking back in. Everyone must come through the finish area so leaders know nobody is still out.
- Animal-O (25 min): use clue sheets to find animal checkpoints in order. Optionally, let campers explore within the boundary for 2 minutes before handing out the first clue sheet so they are not spending all their time on the first round. Start with 5-animal clue sheets, then progress to 10-animal sheets. No recording is needed for this activity. Frame it as a trust exercise: later activities will use pin punches to verify visits, so do it properly now. The focus here is exploring the space, following a sequence, and building spatial memory.
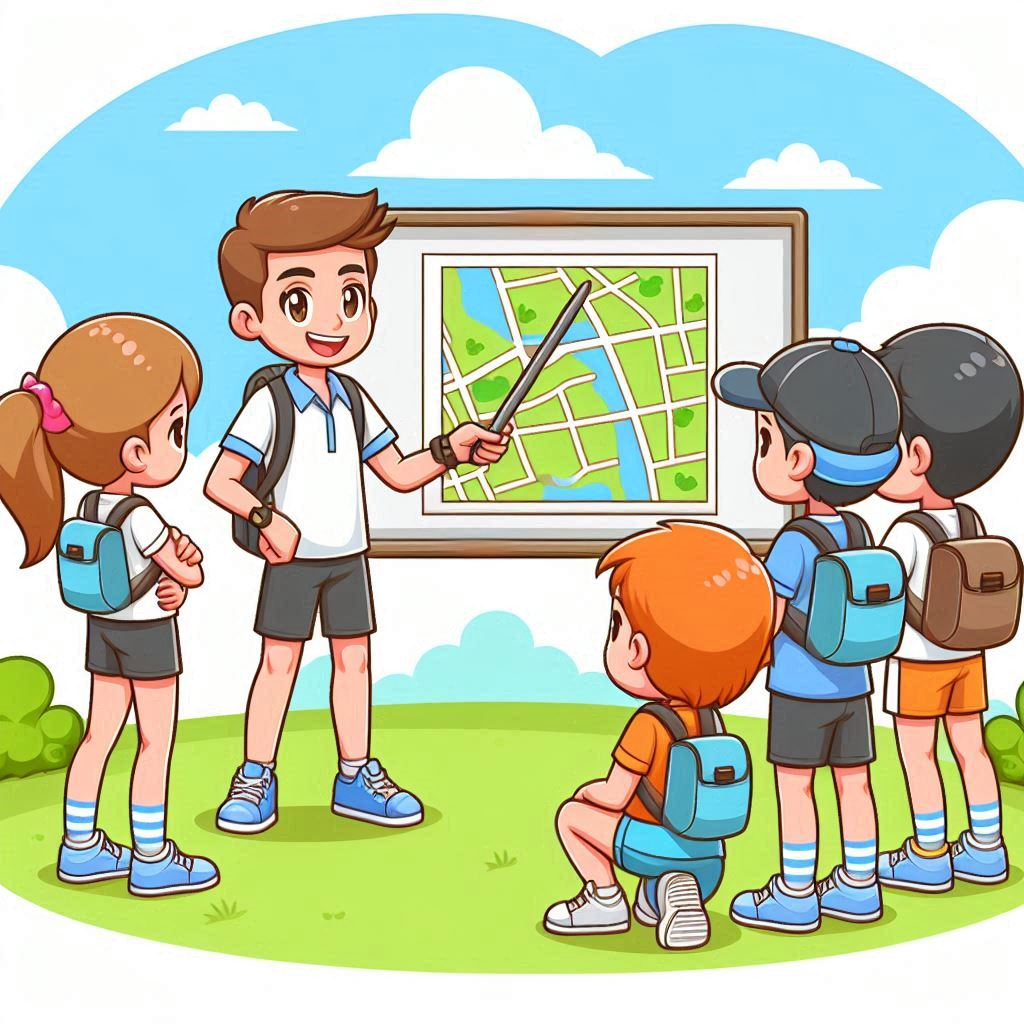
- Map Discussion (10 min): gather the group and show them the poster-sized orienteering map. Point out how it differs from everyday maps. Ask campers to find real features on the map. Reinforce "relating the ground to the map."
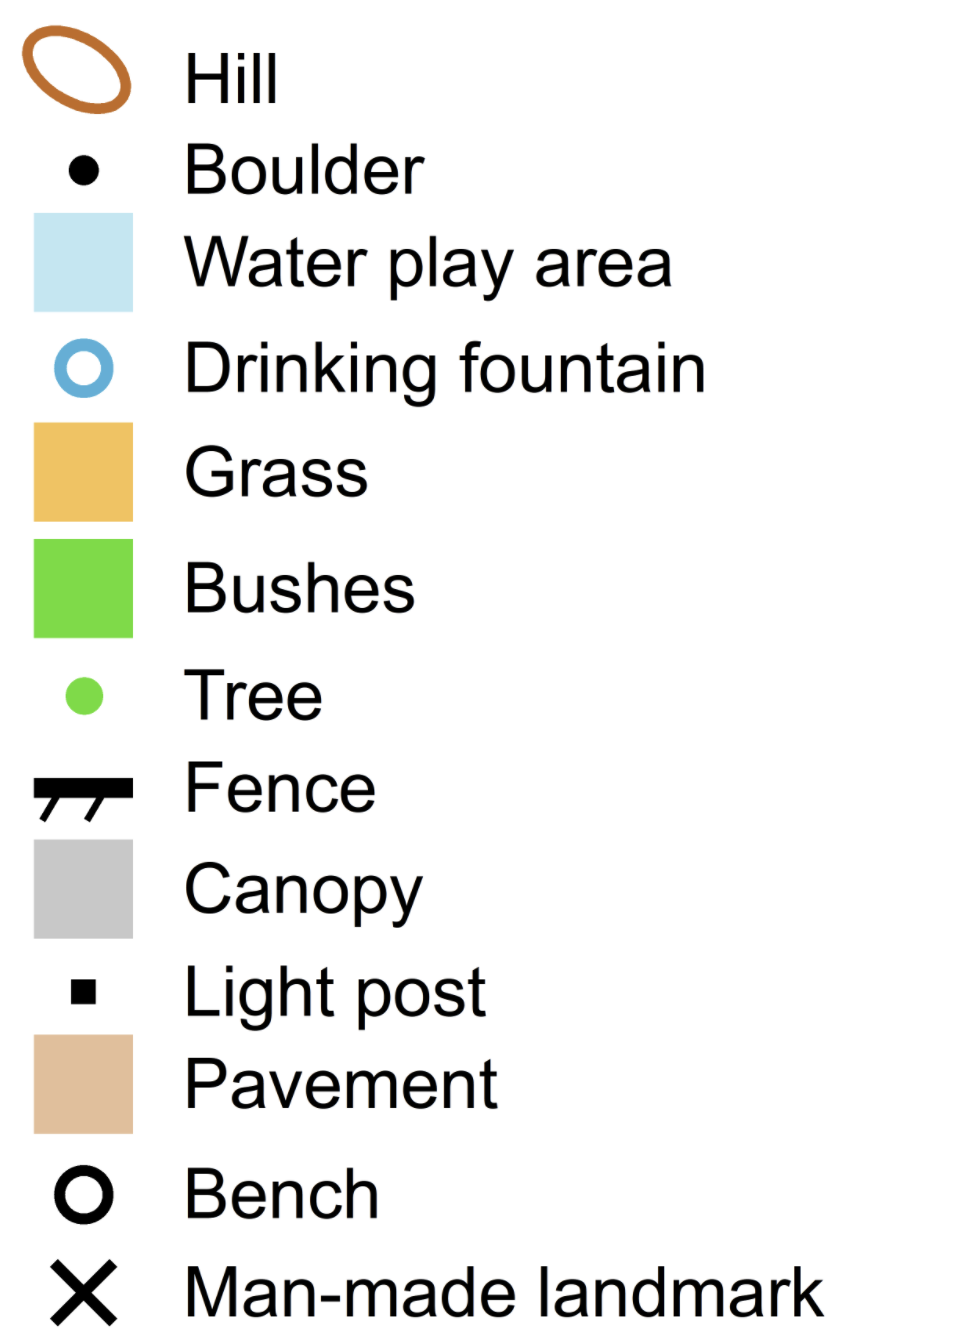
- Symbol Relay (20 min): team relay to identify and match map symbols to real features. For this first session, use only the symbols that appear on the camp's orienteering map. Keeps energy up while reinforcing the symbols introduced in Map Discussion. After the relay, connect the symbols back to the terrain: "Who can point to something that looks like this symbol?"
- Wrap-up (5 min): quick reflection and preview of next session.
Reflection
- What symbols did you learn to recognize on the map?
- How did you know you were at the correct checkpoint?
- How did you find checkpoints faster the second time?
- What was one thing on the map that surprised you?
Extensions
- Description Relay: same format as Symbol Relay, but campers match control description pictograms (the International Orienteering Federation picture language for tree, cliff, fence, etc.) to their text names. This is a good complement to Symbol Relay and can be swapped in or run alongside it. See the Related Activities tab on the Symbol Relay page
- Move checkpoints to new locations and run Animal-O again
- Have campers draw their own simple map of the area using symbols