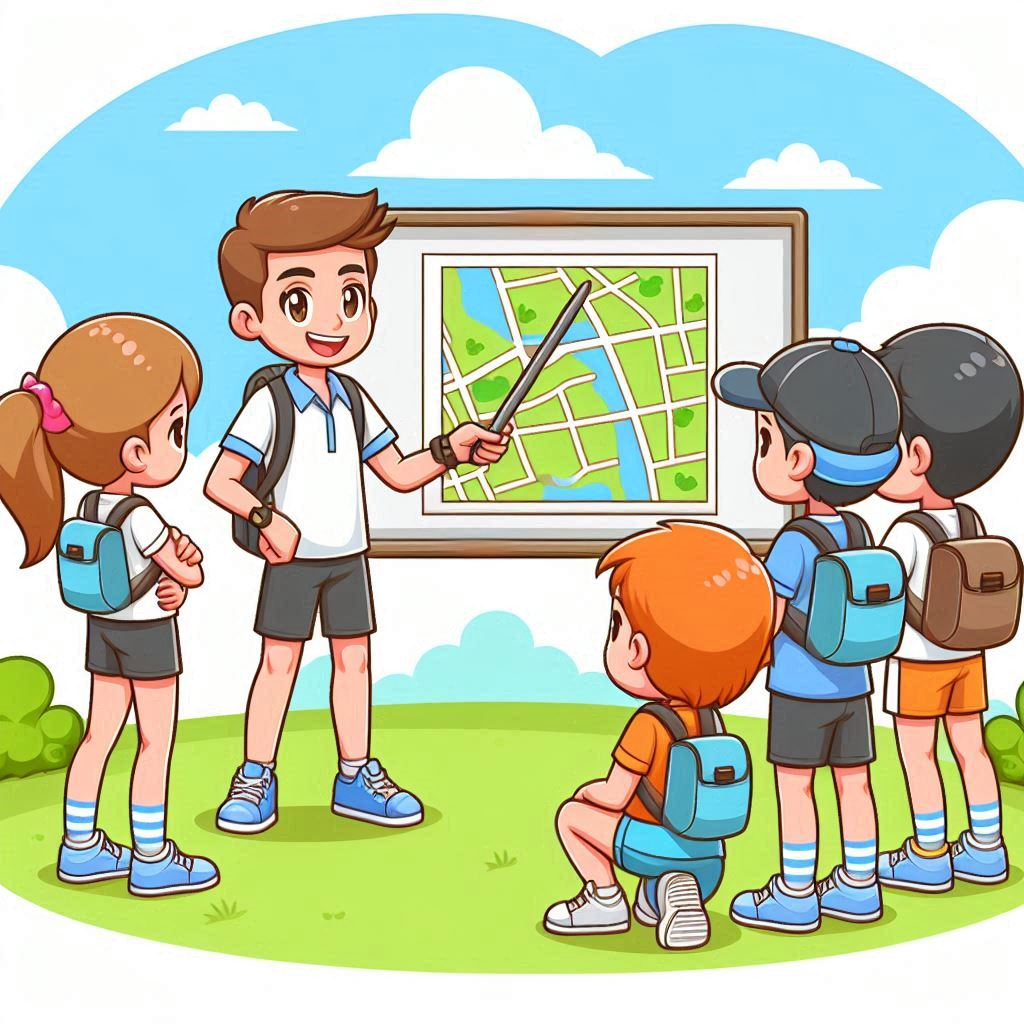
Map Discussion — Activity
Discuss how orienteering maps represent the world
| Time | 10-15 minutes |
|---|---|
| Space | Schoolyard, local park, or forest |
| Materials | Orienteering map of the area |
| Vocabulary | Map legend, Landmarks |
"Let's have a look at an orienteering map"
- Learning Goals
- How to Run It
- Reflection
- Vocabulary
Learning Goals
Students completing this activity will be able to:
- Understand map symbols and the features they represent
- Relate features on the map to features in the terrain
- Familiarize oneself with an orienteering map
- Orient the map using the features around you
How to Run It
Setup
- Print a large poster sized map of the area
Steps
1. Gather the group. Gather the group at a clear spot with visible landmarks (e.g. near a path, playground, or open field).
2. Introduce the map. Show them the orienteering map of the area and point out it looks different from Google Maps or topographic maps, more detailed and full of symbols.
3. Explain the symbols. Explain that the symbols are standardized worldwide, like a language you can use anywhere.
4. Connect ground to map. Ask students to point to something they see in the real world (e.g. a fence or a tree line) and try to find it on the map.
5. Reinforce the concept. Reinforce that this is called "relating the ground to the map", you start with what you see and then match it on the map.
Adaptations
Ways to adapt the activity to meet the needs of your students: slow things down, increase the challenge, or adapt for different learners
- Draw your own map: have them draw their own simple map using symbols for things they see
- Symbol Relay: if you haven't already, try the Symbol Relay activity next
Reflection
- What was one symbol you learned to recognise?
- How was this map different from maps you've seen before?
- How did you match something you saw in real life to a symbol on the map?
- Could you figure out where you were just by using the map and the landmarks?
Vocabulary
Map legend: The part of the map that explains what each symbol means.
Landmarks: Real-world features you can see and recognize, used to connect the map to the terrain.
See the Glossary for all curriculum terms.