Lesson 4: Map Symbols
"Every color, shape, and line on the map means something you can see and touch"
| Time | 30-60 minutes |
| Space | Schoolyard or local park (needs real features for map symbols) |
| Materials | Orienteering maps, Symbol reference cards or legend handouts, Checkpoint markers, Checkpoints (with animal pictures), Map key (legend) poster or handout, Symbol-O clue sheets, A planned route through varied features, Map legend (poster or handout), 2 sets of symbol cards (one per team), 2 sets of text cards (one per team) |
| Setup | Choose a route through the space with varied features (paths, trees, fences, buildings, open ground); place checkpoints at features that correspond to distinct symbols |
| Vocabulary | Symbol, Legend, Feature, Orient the map |
Activities
core
Symbol-O
Find checkpoints by matching map symbols to real features.
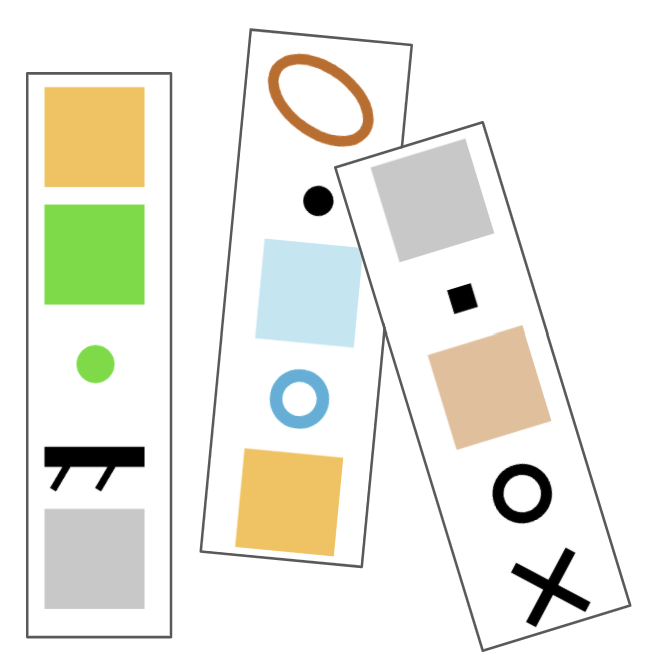
core
Map Walk
Walk a route together, matching map symbols to real features.
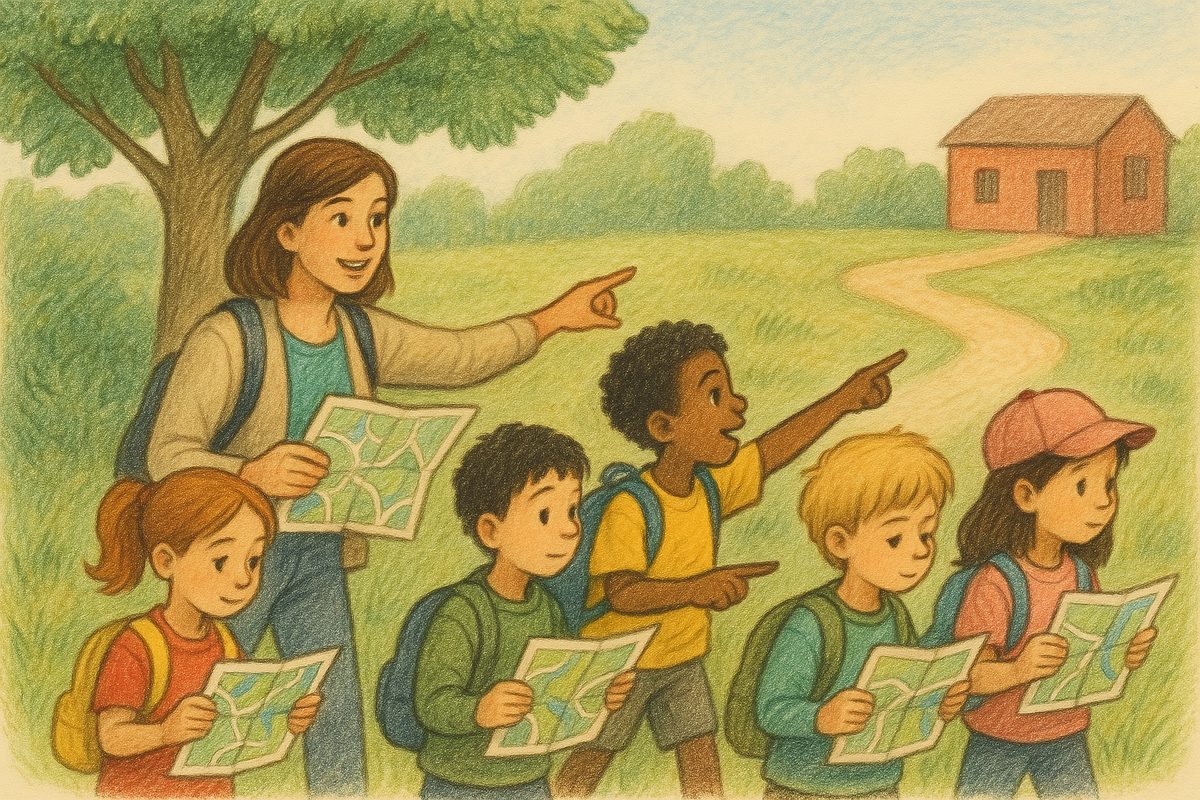
variation
Symbol Relay
Team relay to learn map symbols competitively.
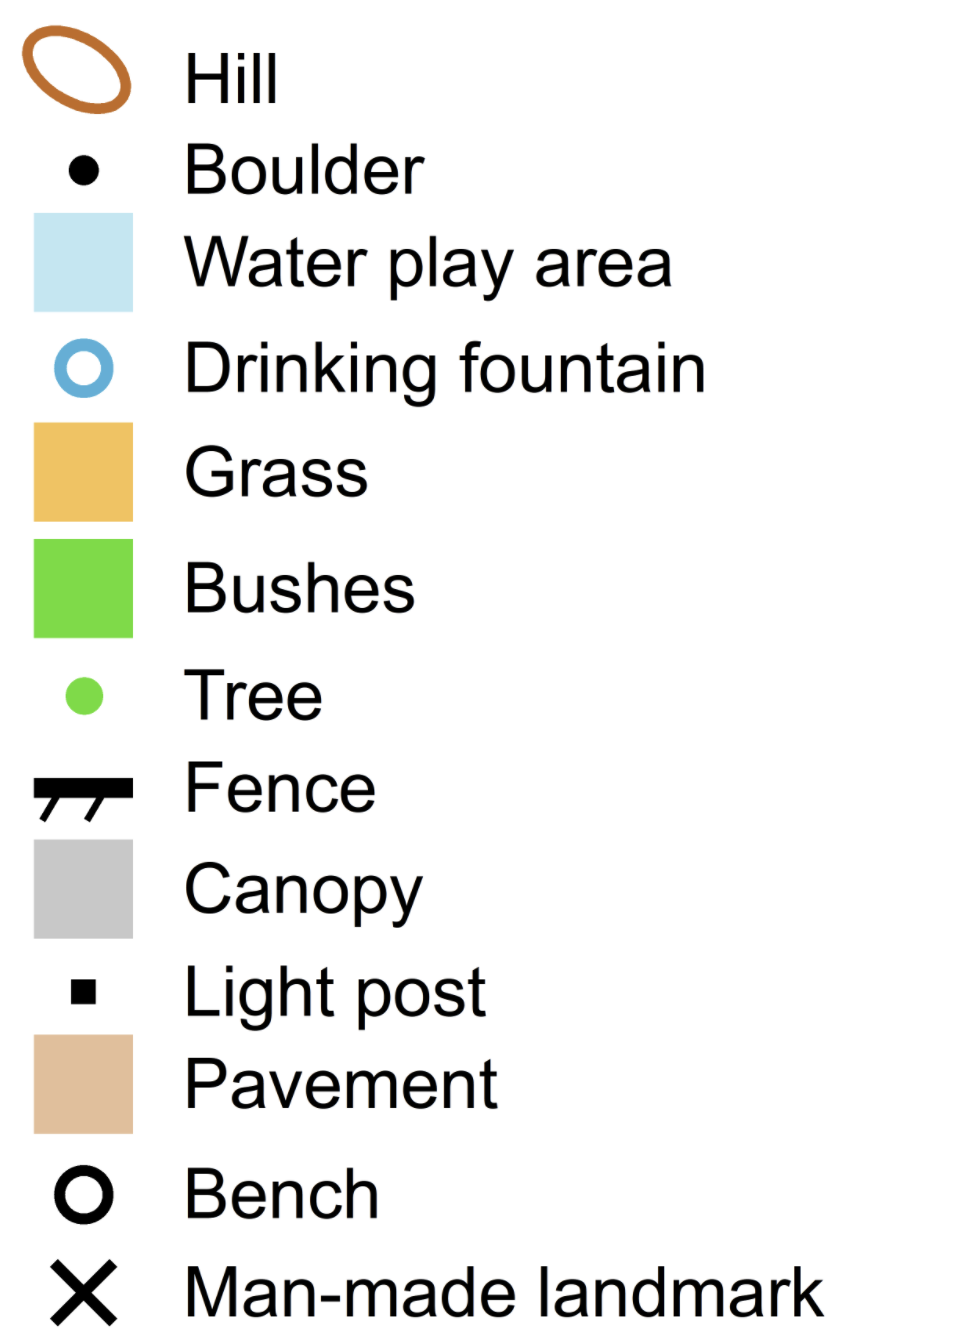
Goals
Orienteering Goals
- Identify basic orienteering map symbols (path, building, fence, tree, open ground, water)
- Use the legend to decode unfamiliar symbols
- Match symbols on the map to features on the ground
- Walk a route while keeping the map oriented
- Track your position on the map as you move
PE Standards (SHAPE America)
Standard 2: Movement & Fitness Concepts
- Applies movement concepts and strategies for safe movement within dynamic environments (2.5.1). Students orient their maps and use symbols to navigate to checkpoint locations during Symbol-O and Map Walk.
- Demonstrates problem-solving strategies in a variety of games/activities (2.5.5). Students match map symbols to real features and use the legend to decode unfamiliar symbols.
Standard 3: Social Skills
- Uses communication skills to negotiate roles and responsibilities in a physical activity setting (3.5.2). Partners discuss which symbol matches each feature and negotiate route choices.
- Solves problems independently, with partners, and in small groups (3.5.5). Pairs work together to find checkpoints at features matching specific symbols.
See PE Standards alignment for the full framework.
Delivery
- Boundary Run: quick warm-up
- Symbol introduction: gather students with maps
- Compare the orienteering map to the pattern maps from Lesson 3
- Point to a nearby feature (a path, a building, a tree) and find its symbol on the map
- Orient the map so symbols line up with real features
- Introduce the legend
- Symbol-O: in pairs, find checkpoints placed at features that match specific symbols
- Start with 3-4 easy symbols (path, building, fence)
- Add harder symbols (vegetation boundaries, small features)
- Map Walk: walk a route as a group
- Teacher leads; students follow on their maps
- Stop at each feature: "What symbol is this on your map? Point to where we are."
- Students practice keeping the map oriented as the group turns corners
- Symbol Relay (if time): teams race to match symbols to features
Reflection
- Which symbols were easiest to recognize? Which were hardest?
- How is the orienteering map different from the pattern maps we used before?
- What helped you keep track of where you were on the map?
- When you turned a corner, what did you have to do with your map?
Extensions
- Symbol Relay: team competition to identify and locate map symbols
- Students create their own symbol quiz for a partner
- Walk a new route; students lead and narrate what they see on the map
- Identify features visible from one spot and find all of them on the map