Lesson 5: Picture the Space
"A map is a picture of a place, drawn from above"
| Time | 30-45 minutes |
| Space | Gym, schoolyard, or local park |
| Materials | Paper and pencils, Clipboards (or hard surface to write on), Cones (optional, for marking boundaries), Whiteboard or large paper (for teacher demo) |
| Setup | No special setup needed. The space should have visible landmarks (trees, fences, doors, playground equipment). Place a few cones if the space lacks obvious features. |
| Vocabulary | Map, Boundary, Landmark |
Activities
warm-up
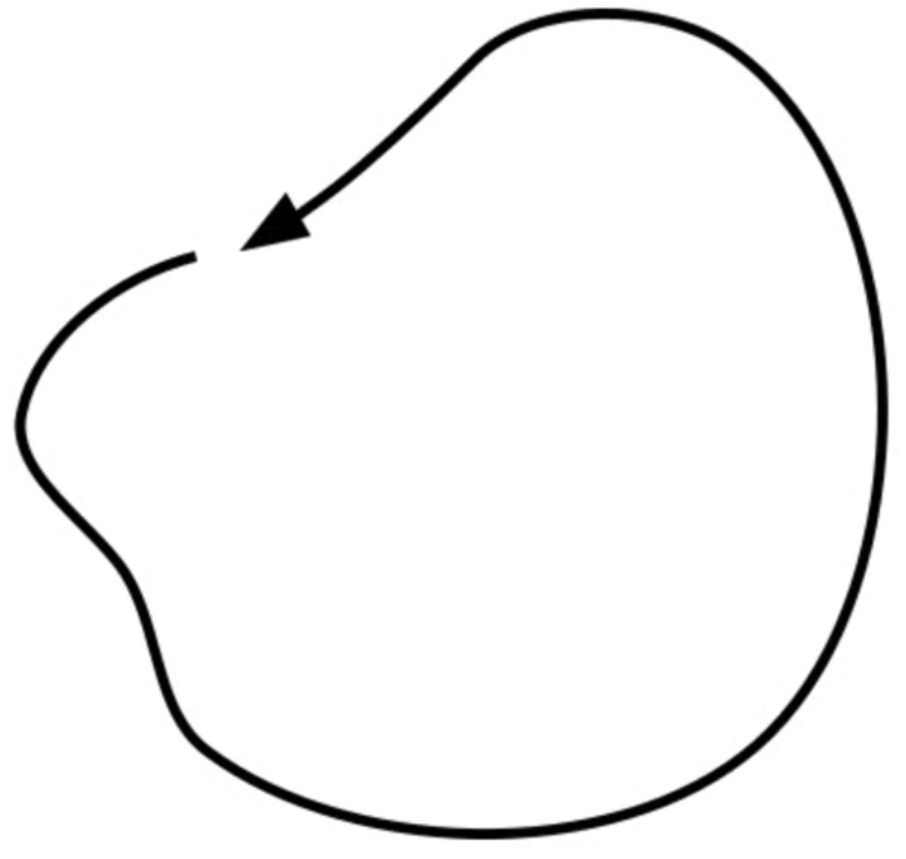
Boundary Run
Warm up: walk and run the boundary.
core
Draw the Space
Draw a map of the space from above.
Goals
Orienteering Goals
- Understand that a map is a picture of a place seen from above
- Draw the boundary of the play area
- Add landmarks to a drawn map
- Compare your map to others' maps
- Connect the drawn map to the real space
PE Standards (SHAPE America)
Standard 1: Motor Skills
- Demonstrates a variety of locomotor skills with the concepts of space, effort, and relationship awareness (1.2.1). Students walk and run through the space during Boundary Run and Run and Touch.
Standard 2: Movement & Fitness Concepts
- Recognizes personal space and where to move in general space (2.2.1). Students observe and represent spatial relationships between landmarks, connecting physical space to their drawn maps.
Standard 3: Social Skills
- Uses communication skills to share space and equipment (3.2.3). Students share drawing materials and discuss where to place landmarks on their maps.
- Demonstrates respectful behaviors that contribute to positive social interactions in movement (3.2.5). Students compare maps respectfully, noticing differences without judgment.
See PE Standards alignment for the full framework.
Delivery
- Boundary Run: walk the boundary together, pointing out landmarks
- Sit down together. "If a bird flew over our space and looked down, what would it see?" Talk about it as a group.
- Give each student (or pair) paper and pencils. Teacher draws the boundary on a big piece of paper (or whiteboard). "Here is the boundary. Draw it with me." Add one or two landmarks: "Here is the big tree. Here is the door." Use the names for areas and landmarks the class developed in earlier lessons. Students keep adding landmarks to their maps (trees, fences, doors, playground equipment).
- Gather and share maps. Look at what features different students included. "Raise your hand if you have trees on your map. How many trees? I see that several of you drew the fence!" Point out interesting choices: did anyone use the same symbol for all trees? Did anyone include something no one else noticed? Ask distance questions: "Is it farther from the tree to the bench, or from the tree to the school? Can you tell from your map?"
- Run and touch. Pick a type of object depicted by several students on their maps. If this were trees, for example, you might say, "When I say go, run and touch as many trees as you can. Count them as you go. Come back when you hear the signal!" Gather. Repeat with another feature from the maps.
- After running, students can add anything they noticed to their maps.
Reflection
- What was the hardest part about drawing the space?
- Did you notice things you missed when you ran out to touch them?
- How is a map different from a photo?
Extensions
- Add color to the maps (green for grass, brown for paths, blue for water)
- Teacher places a new object in the space; students add it to their maps
- Draw the map of a familiar place (your bedroom, the classroom)