Draw the Space — Activity
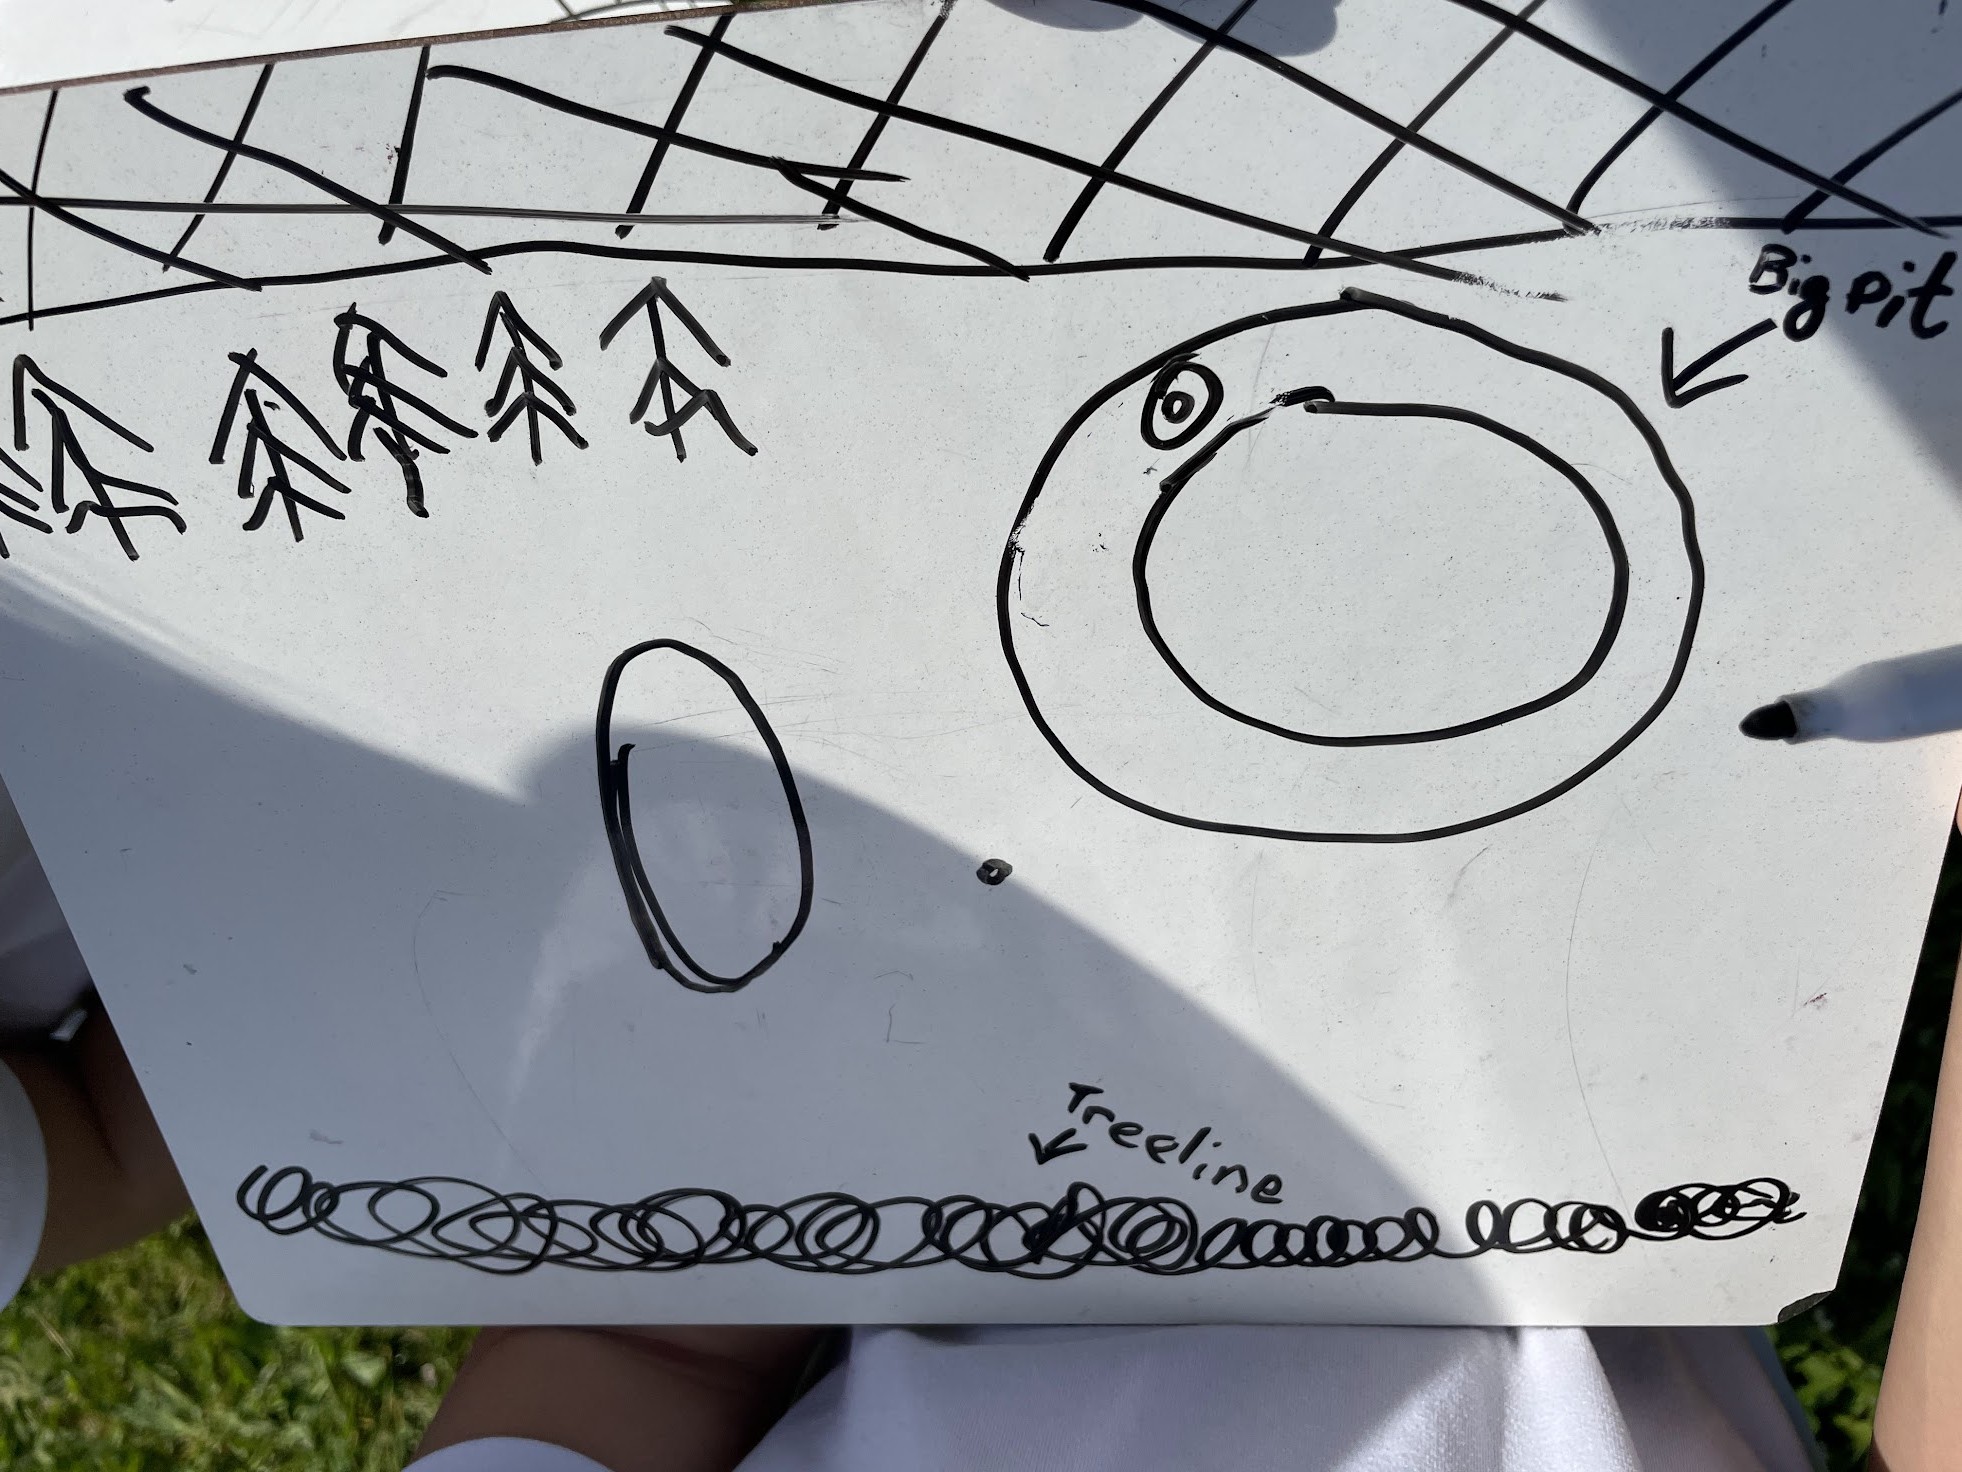
Draw a map of the space from above
| Time | 15-25 minutes |
|---|---|
| Space | Gym, schoolyard, or local park |
| Materials | Paper and pencils, Clipboards (or hard surface to write on), Whiteboard or large paper (for teacher demo) |
| Vocabulary | Map, Landmark, Boundary |
"A map is a picture of a place, drawn from above"
- Learning Goals
- How to Run It
- Reflection
- Vocabulary
- Related Activities
Learning Goals
Students completing this activity will be able to:
- Understand that a map shows a place as seen from above
- Draw the boundary of the play area on paper
- Add landmarks to the map in roughly correct positions
- Connect the drawn map to the real space by comparing maps and checking features
How to Run It
Setup
- Make sure the space has visible landmarks. If it doesn't, place a few cones or objects before the lesson
- Have paper, crayons, and clipboards ready to hand out
- Practice drawing the boundary shape yourself before class. Walk the boundary and sketch it on a clipboard so you are comfortable modeling it for students
Steps
- Gather students. Ask what the space would look like from above, as if a bird were flying over. Talk about it as a group
- Hand out paper and pencils. Draw the boundary on a whiteboard or large paper. Students draw along with you
- Add one or two landmarks to your map, naming them. Students add them to their maps too. Use names the class has developed in earlier lessons
- Students keep adding landmarks to their maps on their own (trees, fences, doors, playground equipment)
- Gather and share maps. Notice what features different students included. Ask distance questions ("Is it farther from the tree to the bench, or from the tree to the school?")
Adaptations
Ways to adapt the activity to meet the needs of your students: slow things down, increase the challenge, or adapt for different learners
- Teacher-led only: teacher draws, students copy each step. Best for the youngest students
- Independent drawing: after the teacher models the boundary and a couple of landmarks, students explore and add features on their own
- Distance and position: ask students to compare distances on their maps to distances in the real space. Are things in the right positions relative to each other?
- Symbols: challenge students to use the same symbol for all objects of a given type (a triangle for every tree, a square for every bench)
- Run and touch: after sharing maps, pick a feature and have students run to touch as many of that feature as they can, then add anything they missed to their maps
- Add color: use color for different features (green for grass, brown for paths, blue for water)
- New object: place a new object in the space; students add it to their maps
- Different space: draw the map of a different familiar place (your bedroom, the classroom)
Tips
- Practice drawing the boundary yourself before class. It's harder than you expect. A rough shape is fine; it doesn't have to be perfect
- Start simple. Draw the boundary and just one or two landmarks during the modeling step. Students can add more on their own
- Drawing from above is unfamiliar for young children. They will often draw things from the side (a tree with a trunk and branches). That's fine. Gently point out the difference: "From above, a tree looks like a circle"
- Use the landmark and area names the class developed in earlier lessons. This reinforces spatial vocabulary
- When comparing maps, focus on what students included rather than accuracy. "You noticed the drain! Nobody else put that on their map"
- Ask distance questions during sharing to connect the map to spatial reasoning: "Is it farther from the tree to the bench, or from the tree to the school? Can you tell from your map?"
Reflection
- What was the hardest part about drawing the space?
- How is a map different from a photo?
- How did you decide where the boundary went on your map?
- Did you notice things you missed when you looked at other people's maps?
- How did you check that your map matched real distances and positions in the space?
Vocabulary
Map: A picture of a place, drawn from above. A map shows where things are so you can find them.
Landmark: A feature in the space that helps you know where you are. Trees, fences, doors, and playground equipment are all landmarks.
Boundary: The perimeter of the play area. All activities happen inside the boundary.
See the Glossary for all curriculum terms.
Related Activities
Guided Map Drawing (variation)
The teacher draws the boundary and a few major features first, students copy that starting map, then fill in the rest of the space themselves. A more structured version for groups that find a blank page daunting. You can also build the map together: invite one student at a time to add a feature to the whiteboard map, and have the class copy it down once they agree it's right.
Map Maker (extension)
Students match symbols to objects placed around the space, then keep their map updated as the objects move: first building a map key, then finding objects from the map, then relocating objects to match a redrawn map, and finally moving objects and updating the map themselves. Takes 30-60 minutes. Deepens the connection between a drawn map and the real space; a natural next step after Draw the Space.