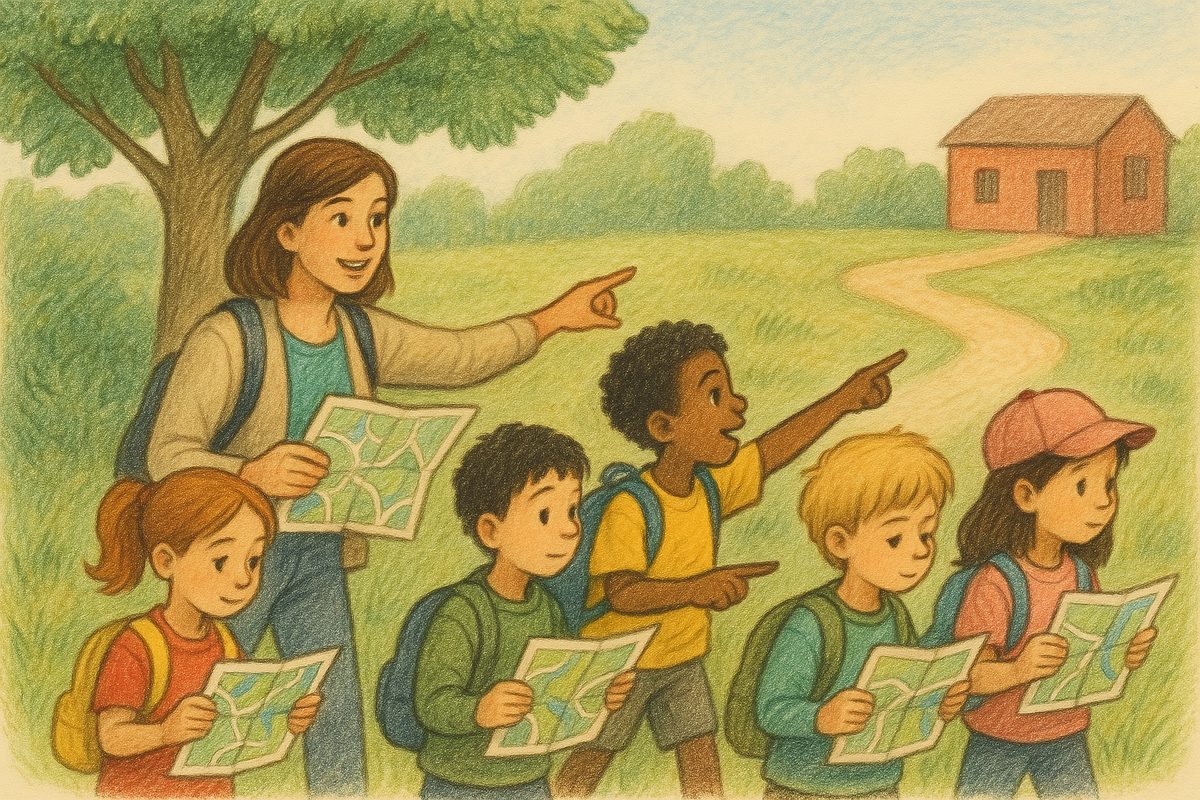
Map Walk — Activity
Walk a route together, matching map symbols to real features
| Time | 15-40 minutes |
|---|---|
| Space | Schoolyard, local park, or forested area with an orienteering map |
| Materials | Orienteering maps (one per student or pair), A planned route through varied features |
| Vocabulary | Symbol, Feature, Orient the map |
"Every symbol on the map is something you can see and touch"
- Learning Goals
- How to Run It
- Reflection
- Script
- Vocabulary
Learning Goals
Students completing this activity will be able to:
- Learn orienteering map symbols and match them to real features
- Read an orienteering map and follow a route on it
- Orient the map using visible features (not just colored cones)
- Build confidence that the map accurately represents the space
How to Run It
Setup
- Study the orienteering map and plan a walking route that passes through a variety of features (paths, buildings, fences, vegetation boundaries, open areas)
- Choose 5-8 stops where a clear feature is visible and identifiable on the map
- At each stop, know which symbol corresponds to the feature so you can point it out
Steps
1. Hand out maps. Give each student (or pair) a map. Orient it together at the start location.
2. Walk to the first stop. Have students track their location on the map as they walk:
- "Keep your thumb on the map where you are right now"
- At the stop, ask: "What feature are we standing at?"
- Show the symbol on the map. Ask what else uses that same symbol nearby
3. Continue to each stop. At each one:
- Students orient their maps
- Identify the feature and its symbol
- Look around for other features they can see on the map
- Ask: "If we were going to walk to that tree, which direction would we go?"
4. Return to the start. Ask students to lead the group back, reading the map to retrace the route.
Adaptations
Ways to adapt the activity to meet the needs of your students: slow things down, increase the challenge, or adapt for different learners
- First Map Walk: teacher leads, frequent stops, basic symbols only (paths, buildings, open areas)
- Second Map Walk: students take turns leading the group to the next stop
- Small groups: groups of 3-4 follow a route independently, stopping to identify features
- Individual: students walk a route on their own and list the features they passed
- List the features: have students list all the features they can identify on the map
- Find the checkpoints: give students a map with 3 checkpoint circles and ask them to find all three on their own
- Photo Map Walk: take photos of features and match them to map symbols back in the classroom
- Try Symbol-O: find checkpoints by reading map symbols instead of looking for cones (see Related Activities tab)
Tips
- Choose a route that includes at least one surprise. Something students would not expect to see on a map (a ditch, a small boulder, vegetation boundaries)
- Ask "point to where we are on the map" at every stop. If students cannot do this, the route is too complex for their level
- The thumb technique is essential. Students who anchor their thumb on their location stay oriented; those who do not get lost fast
- Keep the walk short. 15-20 minutes is plenty. Students will be eager to navigate on their own
Reflection
- Which symbols were easiest to remember? Which were hardest?
- How is this map different from the simple maps we used before?
- What surprised you about what the map shows?
- How did you keep track of where you were on the map?
- Do you trust that the map accurately shows what's really there? Why or why not?
Script
Starting the Map Walk
"Today we are going to walk together and learn how to read this orienteering map. This is a real map, not like the simple pattern maps we used before. It shows everything around us with special symbols."
At the First Stop
(Stop at a clear feature, like a fence or path junction.)
"Look around. What do you see right here?" (Fence, path, building...) "Now find where we are on the map. Put your thumb there."
"On the map, this fence looks like this:" (Point to the symbol.) "Every time you see this symbol on the map, it means there is a fence there in real life."
Continuing the Walk
"As we walk, keep your thumb on the map where you are. Slide it along as we move. When I say 'Stop,' look around and tell me what feature we are at."
Returning
"Now it is your turn to lead us back. Who can read the map and take us back to where we started?"
Wrapping Up
(Back at the start.)
"What did you learn about the map today? What symbol will you remember?" (Let a few students answer.)
"Next time, you will use a map like this to find checkpoints on your own. You already know how to read it."
Vocabulary
Symbol: A shape, color, or pattern on the map that represents a type of real feature (a green area means thick vegetation, a brown line means a path).
Feature: A real-world object that appears on the map. Buildings, paths, fences, trees, and open fields are all features.
Orient the map: Turn the map until it matches the real world. On an orienteering map, you orient using visible features rather than colored cones.
See the Glossary for all curriculum terms.