Score-O — Activity
Visit as many checkpoints as possible in any order
| Time | 15-30 minutes |
|---|---|
| Space | Schoolyard or local park with an orienteering map |
| Materials | Orienteering maps with checkpoint circles marked, Checkpoint markers (cones or flags) with letter codes, All-checkpoints map, Scorecards and pencils |
| Vocabulary | Route choice, Score-O, Feature, Scorecard, Mass start |
"You get to choose where to go and in what order"
- Learning Goals
- How to Run It
- Reflection
- Script
- Vocabulary
- Related Activities
Learning Goals
Students completing this activity will be able to:
- Plan a route through multiple checkpoints, choosing which to visit and in what order
- Navigate independently using an orienteering map to find checkpoints
- Read an orienteering map and match symbols to real features while moving
- Develop strategies for visiting the most checkpoints in the time allowed
- Estimate how much time is needed and adjust plans to finish within the time limit
How to Run It
Setup
- Design course: choose checkpoint locations at distinct features visible both on the map and in terrain. Place Start triangle and Finish double circle on the map.
- Print course maps
- Place checkpoint markers at locations shown on the all-checkpoints map; each should have a visible letter or animal code.
Steps
1. Review the boundary. Gather students with their maps. Describe the boundary of the course area verbally. Have students orient their maps and identify the boundary on the map.
2. Map warm-up. Teacher describes a checkpoint location (e.g., "near the big tree by the fence"). Students orient their maps and point to the feature. Students raise their hand if it is a circle on their map. Repeat for several checkpoints. This builds the connection between the verbal description and the map before students head out.
3. Strategy discussion. Before starting:
- Ask: "If you want to visit the most checkpoints, what would your plan be?"
- Discuss: start with nearby ones? Group clusters? Save far ones for last?
- Emphasize that there is no single best strategy
- It's okay to build in a brief planning period before the start where teams can look at the map but may not yet leave the starting area.
4. Hand out scorecards. Give each pair or individual a scorecard and pencil.
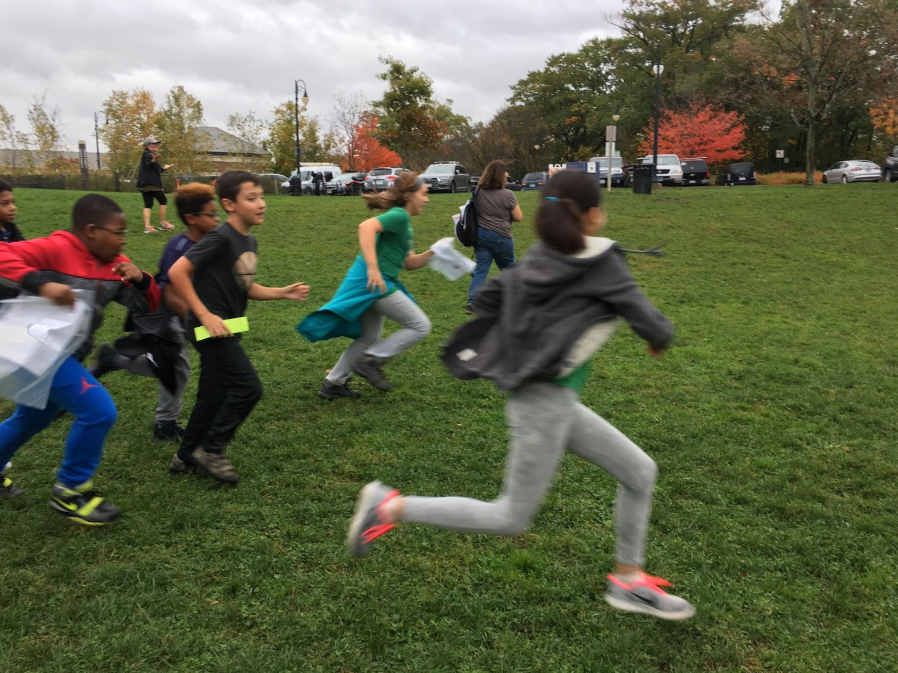
5. Go! Mass start (everyone begins at the same time). Set a time limit (8-12 minutes for beginners):
- Students go individually or in pairs
- At each checkpoint, record the letter code on the scorecard
- Checkpoints do not have to be visited in order
- Return to the start/finish before time runs out
6. Scoring. Count correct codes. Only checkpoints with the right letter code count. The winner is whoever finds the most checkpoints. Ties are broken by whoever finished fastest.
Adaptations
Ways to adapt the activity to meet the needs of your students: slow things down, increase the challenge, or adapt for different learners
Who does the setup?
You can choose how much of the setup students do themselves. The more they do, the more map reading they practice, because each step forces them to connect the map to the terrain. Start as early in the list as your group can handle. Even younger students benefit from choosing their own checkpoint locations.
- Students choose locations (most student ownership, recommended for experienced students or 6+). Working from a poster-sized map (with a plastic cover so circles can be erased), students choose where to place 10 checkpoints, then do steps 2 and 3.
- Students place markers. The teacher marks checkpoint locations on the all-checkpoints map in advance. In groups, students take the markers out and place them at those locations, then do step 3.
- Students copy the map. The teacher places the markers. Students copy the checkpoint circles from the all-checkpoints map onto their own maps.
- Teacher prepares everything, including printed maps. Students just navigate.
Difficulty
- First time: pairs, short time limit (8 minutes), fewer checkpoints
- Experienced: individual, longer time limit, more checkpoints spread further apart
- Advanced: assign different point values to harder-to-find checkpoints (further away or harder to navigate to)
- Competitive: compare scores; fastest time as tiebreaker
More ways to play
- Second round: do a second round with the same map to see if scores improve
- Design for a partner: have students design their own Score-O course for classmates to run
- Navigate by memory: leave the map at the start and return to check it as needed
- Pairs races: one team finds odds, the other finds evens
- Late penalty: dock points for finishing after the time limit (see Tips for options)
- Poker-O: collect the best poker hand at checkpoints (see Related Activities tab)
- Poison-O: some checkpoints are poison and cost points (see Related Activities tab)
- Vampire-O: vampire teams chase and tag others (see Related Activities tab)
Tips
- Keep the first Score-O short (8 minutes). Students can always do a second round
- Remind students to orient their map before leaving the start
- Late penalties discourage students from ignoring the time limit. Options: lose 1 point per minute late, or use a doubling penalty (1 point for 1 minute late, 2 for 2 minutes, 4 for 3 minutes, etc.) when you need teams back on a tight schedule
- Place a few "easy" checkpoints near the start so every student finds at least one
- Watch for students who run without reading their map. Redirect them to stop and orient
Reflection
- What strategy did you use to visit the most checkpoints?
- Did you change your plan once you started? Why?
- Which checkpoints were hardest to find?
- How did you use the map to navigate between checkpoints?
- How did you manage your time to make sure you got back before time ran out?
- If you did it again, what would you do differently?
Script
Introducing Score-O
"Today you get to choose your own adventure. You have a map with checkpoint circles on it. Your job is to visit as many checkpoints as you can before time runs out."
"At each checkpoint, you will find a marker with a letter on it. Write that letter on your scorecard next to the checkpoint number. This proves you were there."
Strategy
"Before we start, look at your map. Where would you go first? Why?"
(Let students share ideas. Highlight strategies: start close, visit clusters, don't backtrack.)
"There is no single right answer. Part of the fun is figuring out what works best for you."
Starting
"You have [8/10/12] minutes. When you hear the whistle, come back to the start. Ready? Go!"
Finishing
(Whistle. Wait for everyone to return.)
"Bring me your scorecards. Let's see how many checkpoints you found. Remember, only checkpoints with the correct code count. Getting it right matters more than getting there fast."
"Who went to a checkpoint that someone else skipped? Who changed their plan partway through? What would you do differently next time?"
Vocabulary
Route choice: The path you decide to take between checkpoints. There is no single correct route.
Score-O: A format where you earn points by visiting checkpoints in any order within a time limit.
Feature: A real-world object or landmark that appears as a symbol on the map. Trees, fences, paths, and buildings are all features.
Scorecard: A card where you record the letter code at each checkpoint to prove you visited it.
Mass start: Everyone begins at the same time. Makes it easy to track who found the most checkpoints and whether teams finished within the time limit.
See the Glossary for all curriculum terms.
Related Activities
Poker-O (extension)
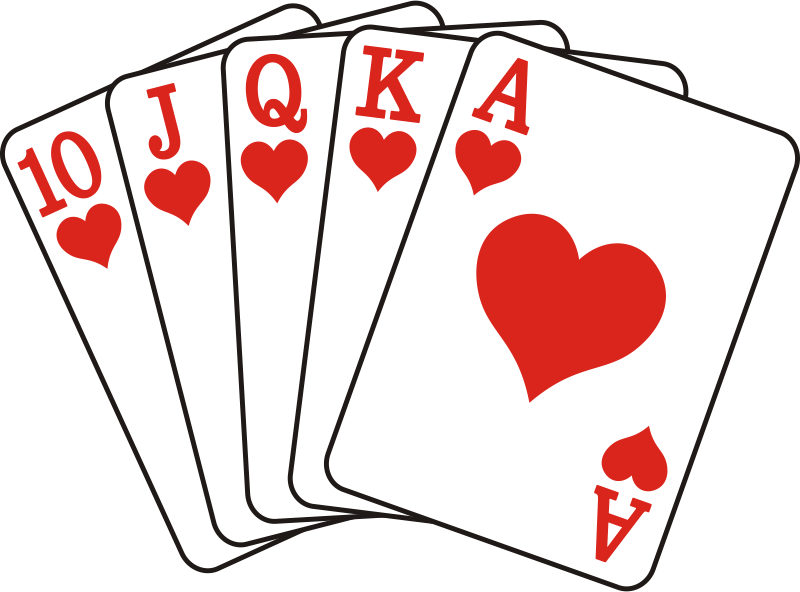
Each checkpoint has a playing card instead of a letter code; the best poker hand wins. Adds a layer of strategy since students must decide whether to visit more checkpoints (more cards) or be selective. Takes 15-30 minutes with a playing card at each checkpoint; ties are broken by number of checkpoints visited.
Poison-O (extension)
Wrong checkpoints cost points, rewarding careful map reading. See the full Poison-O activity page.
Vampire-O (extension)
Score-O with a chase: vampire teams tag others and take their punch cards. See the full Vampire-O activity page.
Reverse Score-O (variation)
The map shows no checkpoints. Students find checkpoint markers on the ground and mark their locations on a blank map instead, then compare against the all-checkpoints map. Reverses the usual direction of navigation and deepens the connection between map and terrain. Takes 15-20 minutes per round; demo one checkpoint together first, then discuss which were hardest to place when gathering to verify.